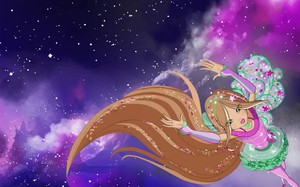


An icon of Kristal with new background and text
Hello girls (I don’t think any boy exists in our club :P)
Iti is back with another lesson of icon making. So today I will tell you how to change background of an image (while making icon) and adding texts to it. So, I will start the main problem that occurs during changing background, for beginners.
While changing background one need to know which tool is perfect. So here we start.
Steps
1. Open a picture.
2. Now click on “magic wand” and select the area you want to remove. For this you can click on “add” in the above box, where you can see which tool you selected. Or directly press “cntrl + shift” and keep pressing it.
3. When you’ll select the places, press “delete” button. And the required area will get deleted.
4. Remember don’t deselect the area.
5. Now use paint brush to color the required area in any color you want.
6. You can add the shade of dark color in borders (remember in previous article I told you how to do it? If not you can read it again)
7. Now you can add “soft edge dots” as I told you how, in previous chapters.
8. If you have problem in selecting any area you can also use Lasso tool, it really helps.

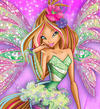
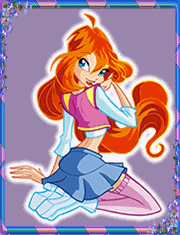
Musa's icon after adding different background
Now as you know how to change background I will tell you how to add texts.
Steps for adding texts
1. You need to download beautiful fonts first. You can download them from link
2. Now, go to the icon you prepared and click on “T” button which means text. Write down whatever you want to.
3. Press “Cntrl + T” together and you and you’ll be able to resize it and place it where ever you want, you can also turn it around.
4. If you use Photoshop, then open Layer box.
5. Click on “f” button in bottom of layer box. And then follow what’s written below
Click on “f” -> Drop Shadow -> adjust opacity and spread shadow
6. This will give a touch to you icon.
7. G o to “Layer” on the top it’s in the same box from where you see “File”, “Edit” etc.
8. Click on option “Merge Visible.
Now you should get something like this icon below.
I hope it had helped. Now you guys tell me what you want to learn in next article.

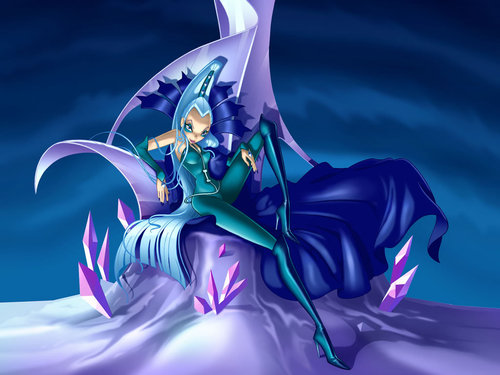
Musa Icon after adding text and drop shadow